
Wednesday, July 28, 2010

CAMARONES A LA DIABLA: FINGER-LICKIN' GOODNESS! AND MICHELADAS TOO!


On this hot July, we have decided to crank up the heat EVEN MORE with some Camarones a la Diabla!  To help cool you down, we will also show you how to make one variety of a MICHELADA, a spicy beer drink.
This time, Sonia and I met at our parents' house.  This means, of course, that mom had to get her hands in the mix.  It is impossible for her to sit back and watch our mistakes!


We will begin our delicious journey with the camarones.  Here are the ingredients we used to make almost 7 servings (might as well make a big batch and invite some people over!) This recipe we took from an old recipe book from my dad's home town of Tonaya, Jalisco, Mexico.

-12 chiles huajillo (dried)
-5 chiles de arbol (dried)
-4 lbs. of uncooked shrimp
-2 oranges
-bottle of ketchup (aka salsa catsup)
-1 stick of butter
-1 or 2 garlic cloves, according to your liking
-salt
-teaspoon of Worcestershire sauce (aka salsa inglesa)

Step 1:

Heat up enough water to soak all the chiles in.  Let the chiles sit in the heated water for about 2 hours.  The chiles can be soaked a night ahead of time.  The point is to get the chiles soft and the water red.


Step 2:

When the chiles are soft, you should begin washing/rinsing the shrimp.  Leave the shells in tact!  We'll explain why in the last step.  After washing the shrimp, let them sit in fresh water while you move onto the next few steps...


Step 3:

We now open up the chiles and remove the seeds inside. My mom showed us how to do this part.  She basically used her nails to open them up and then removed the seeds using the pot of water to help wash them off.
We added the chiles, along with about 2 cups of the water in the chile pot, and squeezed orange juice from 2 oranges into a blender. It wasn't hot enough, so we added a few more chiles and mom decided to crush them in the molcajete rather than putting it all back in the blender.
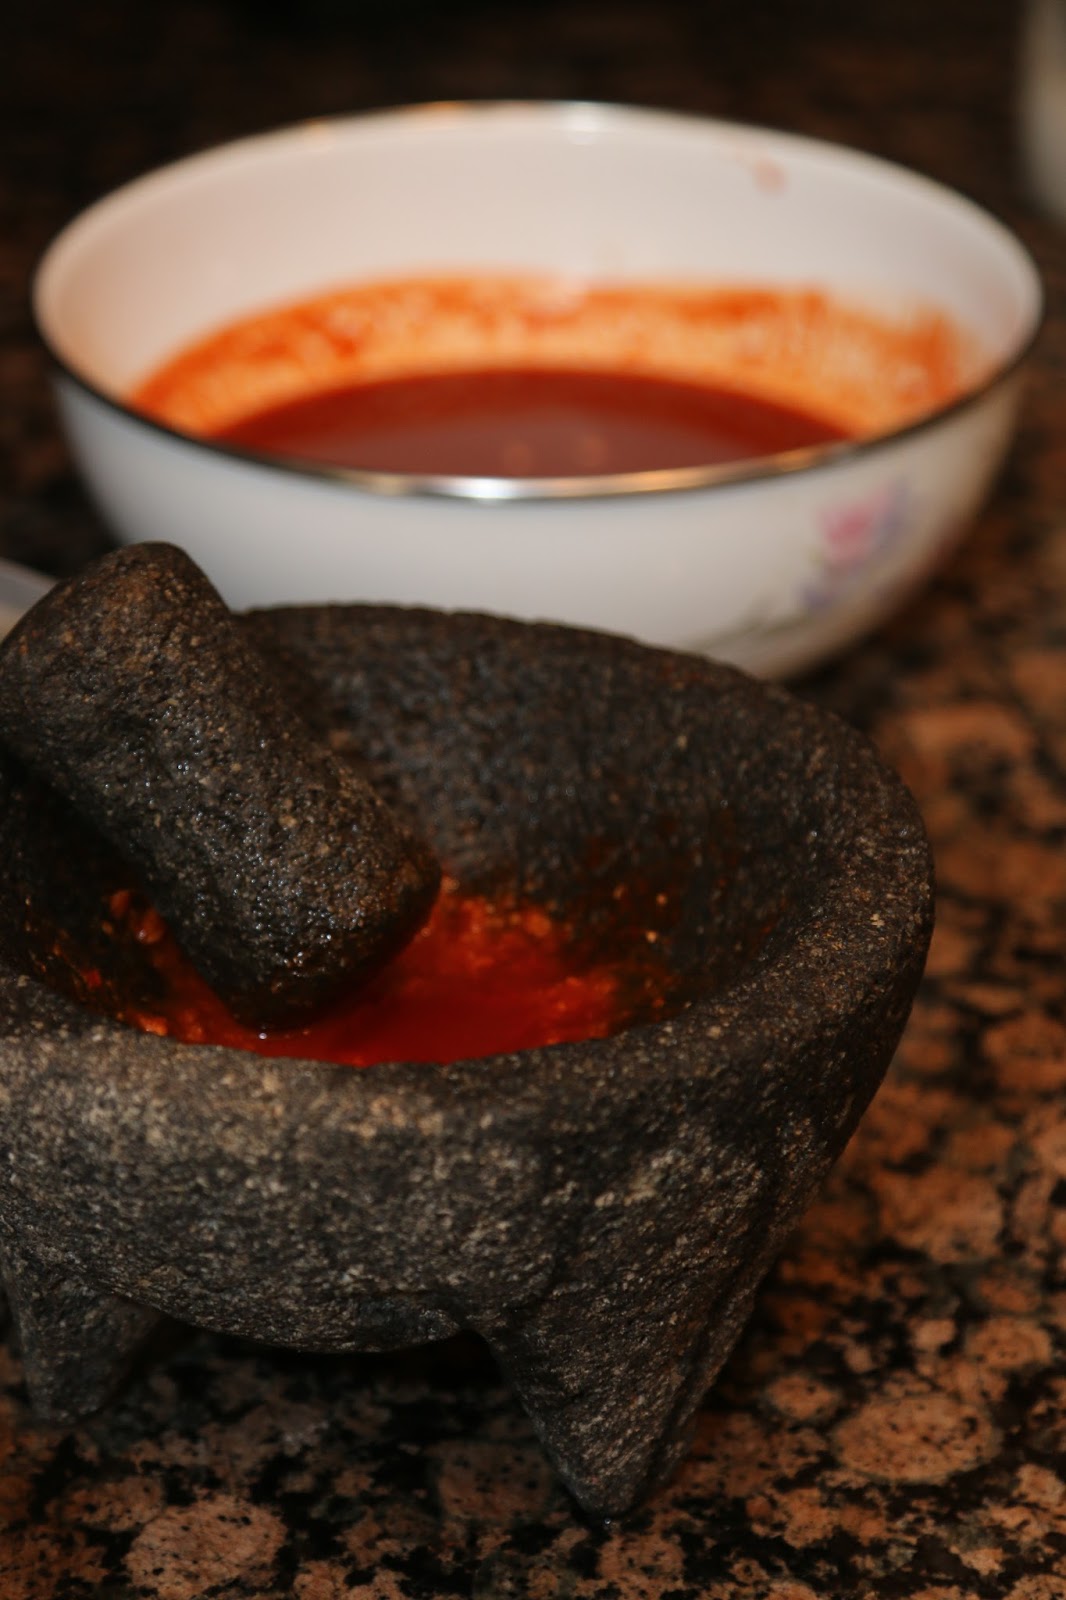


Step 4:

Now that the sauce is blended, you will heat up a deep pan over medium heat.  Strain the sauce as you pour it in.  While stirring the sauce, add a teaspoon or so of salt, a teaspoon of the Worcestershire sauce, and the bottle's worth of ketchup. Yes the whole bottle.  This, along with the orange, will add an element of sweetness.  My mom actually likes to skip the ketchup and orange and just adds more chile sauce because she likes to make them HOT.  So, be aware that you can easily tailor this recipe.  


Step 5:

Heat up a separate pan over medium heat and melt the stick of butter.
Remove the shrimp from the bowl of water and add them to the heated, buttery pan.  
We used a garlic press to add some crushed garlic.  
Stir the shrimp around as they cook.  
We suggest you don't overcook the shrimp because they will taste dry.  
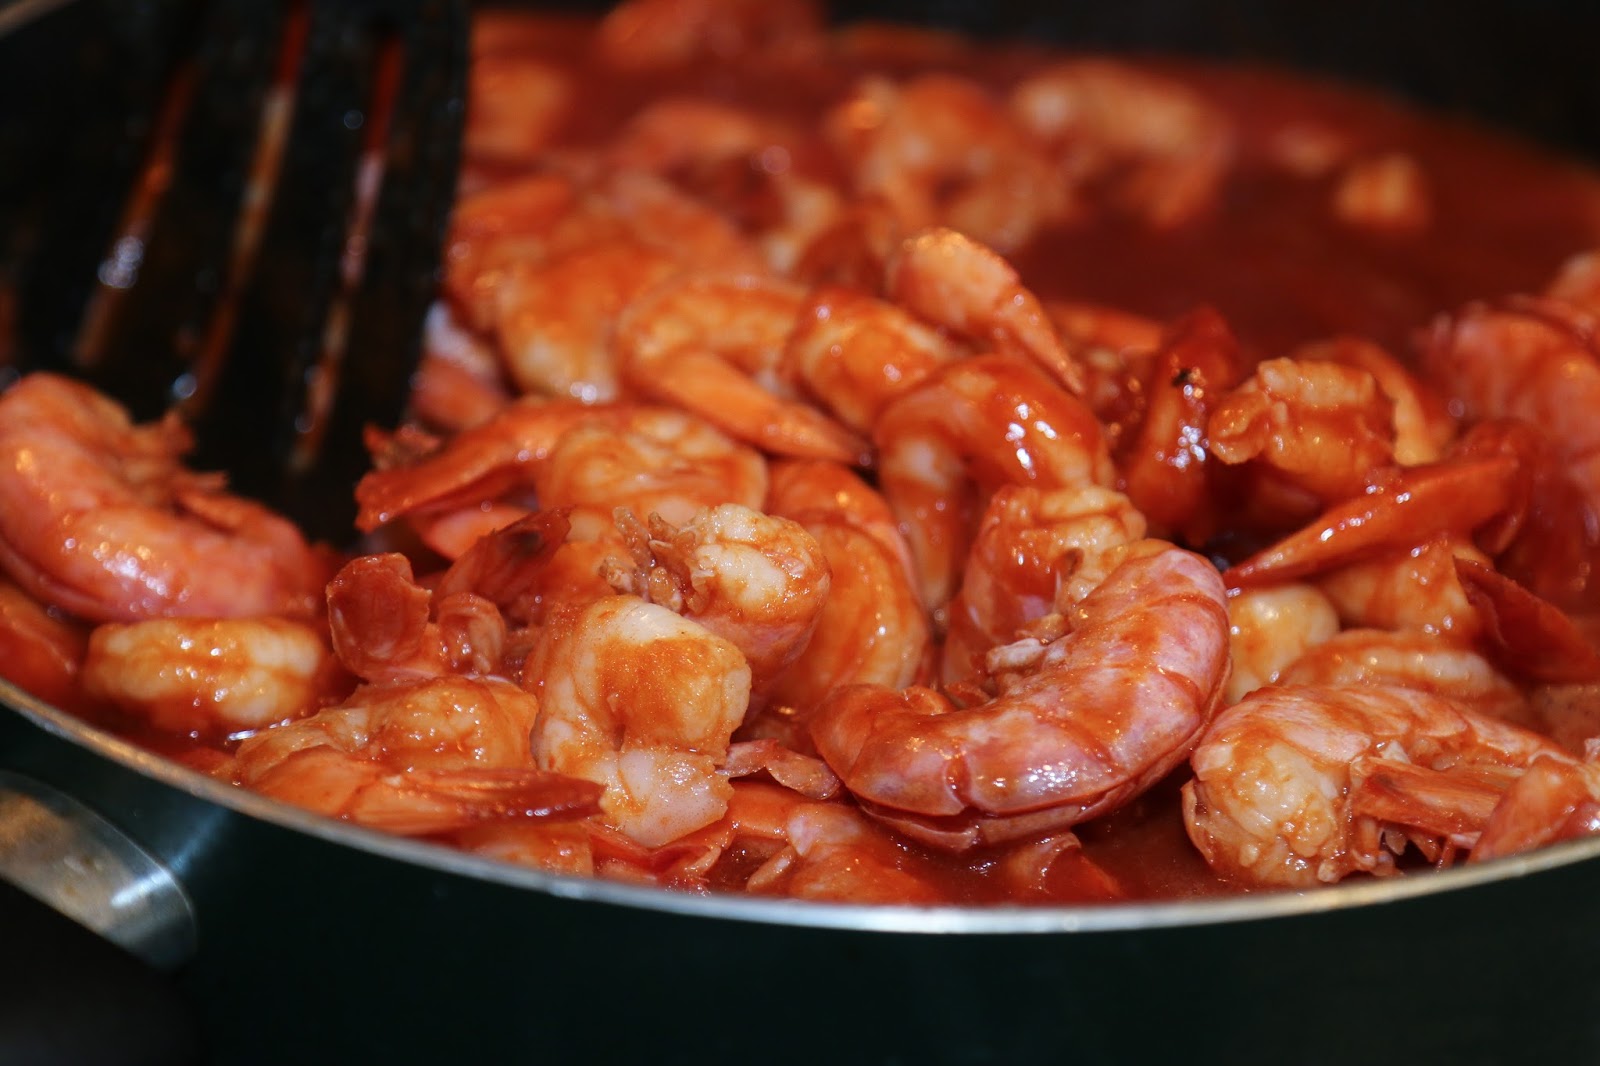
 When the shrimp is ready, pour them into the warm chile sauce. 


The Camarones a la Diabla are now done!  Now, for the MICHELADAS!  


MICHELADA INGREDIENTS:


-ice
-limes
-tomato clam juice (Clamato or generic)
-Maggi Seasoning
-Tapatio
-Worcestershire sauce
-beer (I suggest Dos Equis or Modelo)
-salt

I took pre-frozen mugs, added some ice and a squeezed lime to each.  
Then I added a bit of the tomato clam juice...about a shot glass or two worth's.
Next I added a few drops of Maggi seasoning and Worcestershire sauce, and a teaspoon of Tapatio.
Pour in the cold cerveza (beer, duh) and a dash of salt.  Mix and drink up! :)


Here are some pics of us enjoying the messy goodness.  I absolutely love this dish.  You may serve it with Mexican rice and refried beans.  We just kept it simple.  Camrones y cerveza.  Oh, so the reason we leave the shells on...we like to suck the sauce off the shells before we peel them off.  Makes the process extra messy so grab some napkins or paper towels.  Heck, grab some bibs.


I hope you enjoy the recipe.  Please leave some comments.  Share your results or varieties.  And let us know if you have questions!  Thank you for visiting!

Monday, June 21, 2010

Mom's Enchiladas de Dulce


On a Monday evening after work, we decided to finally tackle this dish.  We were both under the impression that it was a challenging dish to make.  We were surprised at how simple and economical it was to complete.  We were not as surprised at how freakin' delicious they were!  These enchiladas are so rich and satisfying, there is no need for a side dish.

Before we start, here are the ingredients:

1lb. of chicken
Corn tortillas
Olive oil

For the Sauce:

-5 Chiles Pasillas (secos/dry)
-2 cloves
-1 cinnamon stick
-1 piece of Abuelita Chocolate (not the whole rounded piece, crush or melt before blending)
-4-5 pieces of piloncillo (if you don't know what that is, google it.)
-3-4 saltine crackers
-1 teaspoon of sugar (or however much to taste, remember the piloncillo is a sweetener too)
-Olive oil (to fry the sauce)
-White onion (just a couple of chunks to fry with the sauce)

For the topping:


Grated cotija cheese
Chopped white onions

It begins with the chicken... which we  boiled in water until thoroughly cooked.  This will take long enough so you can make the sauce meanwhile...
...oh, you should also have cotija cheese grated and a white onion chopped so your toppings are ready to go later.


The sauce begins with the chiles, which we boiled with water (enough water to cover the chiles).  We boiled them for about 20-30 minutes.  The water should turn dark red.


The chiles AND water will be blended with the following ingredients:  chocolate, crackers, cinnamon stick (in pieces), and a clove.

Now that the ingredients are blended, you can asses if you need to thicken it up by adding more crackers.  Our sauce actually came out too thick because we didn't add all the red chile water.  Lesson learned!  It should be a bit more liquified than melted chocolate!  **Before the next step, you must strain the sauce using a handheld, wire strainer to remove the chile residue.**

Heat up some oil in a pan over low heat (we used a pot, but when I do this again I will use a deep pan instead).  Add the strained sauce to the heated oil along with a couple of chunks of white onion and a clove.  Add several crushed pieces of piloncillo (add as much as your sweet tooth desires).  Mix and bring sauce to a boil.  Remove the onion chunks.
It is time to check on the chicken.  We removed the chicken from the boiling pot.  As we started to shred the chicken, we discovered it needed more time...so we decided to cook it some more in a pan, which I thought gave the chicken a nice taste anyway.  You may season chicken with salt and pepper if you like.


Now you just need to arrange an assembly line.  Here is the process:

Fry tortillas in oil (just a little oil, if drenched they will rip)

Dip tortilla in sauce

Fill tortilla with chicken (you may add some chopped onion and cotija cheese inside too)

Roll up tortilla and place on a plate (or baking pan if serving later)
Top enchilada with chopped white onion and cotija cheese
You may drizzle some more chile sauce over your enchiladas if you like (I know I like!).


Ahora, es tiempo para comer!  Provecho!  MMMMM...


Please comment below.  Let us know if you have any questions, or if you know of or discover delicious variations to this dish!  Perhaps you have an idea for a side dish to go with this?  Please share, we would love to hear from you!

Sunday, March 28, 2010

Chiles Rellenos and Spanish Rice

Hello there!

What a beautiful spring-like day it was to have our March Mexican Family Recipe Day! We made it a Sunday brunch...perfect day for mimosas! And yes we know, mimosas are not mexican, but they hit the spot just right. Cheers!


This month we had a guest join us...our prima Iliana. We had a very nice time chatting...but let's get to the recipe.


I made the chiles rellenos while Sandy made the Spanish rice. Let's get started with the Spanish rice first. I would suggest if you're cooking alone, make the Spanish rice first, then the chiles rellenos. The chiles rellenos require more attention, it won't be easy trying to cook them simultaneously.
Spanish Rice

Ingredients:

1 tomato
2 tbsp. of oil
1 onion
1 c. of white rice
1 garlic clove
2 c. water
salt to taste
1 cube chicken broth buillon


Heat up 2 tablespoons of oil (we used canola oil) in a skillet over medium heat. Once the oil is heated, add 1 cup of white rice and 1/4 of a small onion, and sautee until light brown. Mix it around in the skillet or it will burn.


Blend tomatoes with the remainder of the onion and 1 garlic clove. Place the skillet over medium heat and pour the blend into the rice. Pour 2 cups of water into the skillet. Add salt and 1 cube of broth buillon. Mix it around and wait for the water to boil .


For the broth buillon, Sandy used Sazon Goya. However, I usually use Knorr Suiza, which I find easier to find at any local grocery store.

It's starting to smell good!!! Once the rice mix is boiling, reduce heat to a simmer and cover. Let simmer for 20 minutes or until the water has been evaporated. Listo!!!


Next...the Chiles Rellenos....and a refill of mimosas.

Ingredients:

6 chiles poblanos or chiles pasilla
2 lb. mozarella cheese
3 eggs separated
1 c. all purpose flour
4 tbsp. oil
2 tomatoes
1 onion
1 garlic clove
a few springs of cilantro
1/2 c. of water


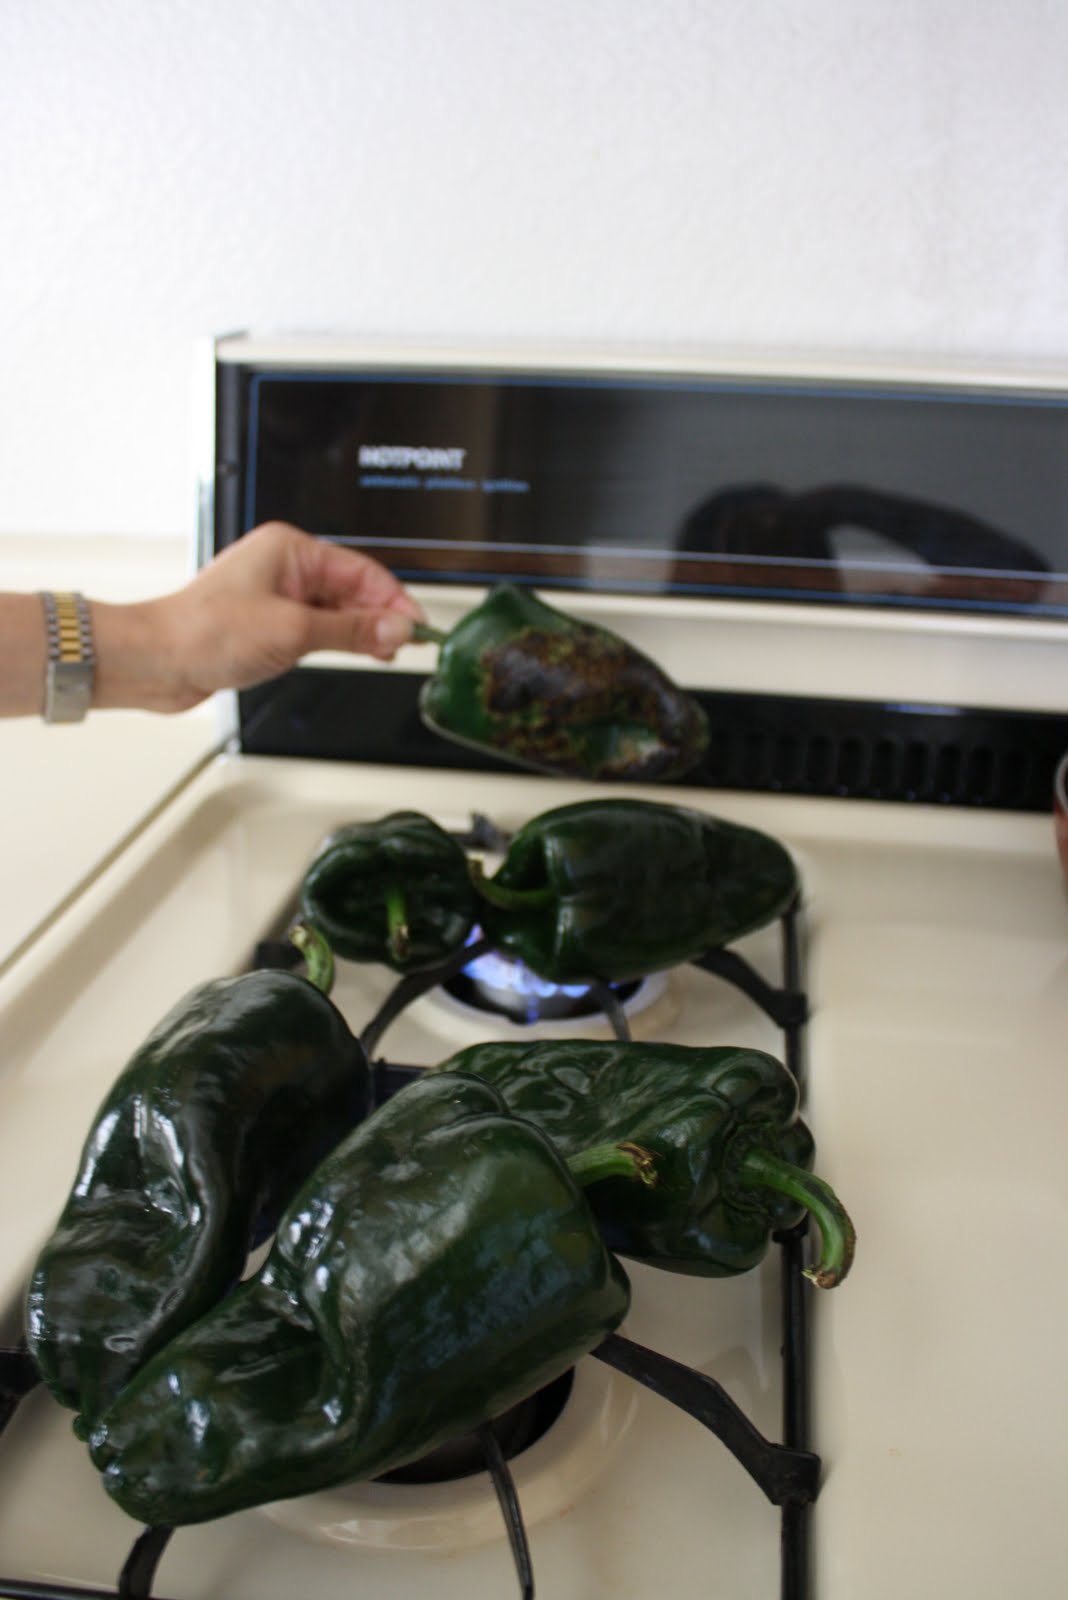
First, wash and roast 6 "chile poblanos" over the open fire on the stove. You can find "chile poblanos" as chiles pasillas. Turn them over until the entire chile is black and blistery. FYI...ashes may start to fly around a bit over the stove area. I love this smell!!!


Once the chiles are roasted, place them in a plastic bag so they sweat and it's easy to remove the skin. In the meantime, cut up mozarella into sticks, a little shorter than the chile itself so they fit inside. I used 3 sticks per chile.


Take the roasted chiles out of the bag and wash them under running cold water. You will be able to just slip the blackened skins off the chiles. Cut a slit down the side of each chile and deseed them. Put 3 mozarella sticks in each chile, and close the slit with a toothpick.


Now let's make the sauce. Boil 2 tomatoes. Once boiled, blend them with a small onion, a bit of cilantro, 1 garlic clove and about 1/2 cup of water together. Drain with a collander. Set aside.


Heat oil in a skillet over medium heat. Meantime, whip 3 egg whites in a bowl until they're frothy, then add the yolks to the whites and whip until they're mixed. We had Iliana whip the eggs for us, and she did a superb job. Place flour on a plate or bowl. Once the oil is hot you can start your chile relleno production line. Woo hoo...here you go...!


Roll each chile in the flour, then dunk it in the egg mixture and pull it out quickly. Let it drip the excess off a bit, and place in the hot oil in the skillet. Do the same with each chile. Let the chile fry for about 2 minutes on each side and flip so the other side fries for 2 minutes. Add the sauce and let it heat for a few minutes until the sauce is heated through.


Remove skillet from the heat. Now, we missed the part where you add he sauce to the skillet...but that's exactly why we've embarked in this blogging adventure :)


Serve the chiles on a plate with a side of Spanish rice. You can pour extra sauce from the skillet over the chiles. Serve with sour cream and some hot salsa if you would like. Garnish with a few cilangro sprigs for a beautiful presentation...although we purposely missed this step cause we couldn't wait to start eating. Listo!!


Yes, this was DELICIOSO!! I hope you find it enjoyable as well.


All right. You've got about a month to try it. Let us know how it turned it and your experience. Would love to hear form you.


BUEN PROVECHO!!

Friday, March 12, 2010

March Family Recipe and Guest Appearance

Saludos!

Our March Mexican Family Recipe day is coming up this Sunday, March 14th. We will be meeting at my place again at 10am for a brunch. We are having our first guest appearance. Guess who?? Come back and find out!!

March recipe is Chiles Rellenos con Arroz. I'll be waiting with mimosas!

Hasta pronto!!

Sunday, January 17, 2010

Carne con Chile Rojo y Frijoles Refritos


It was a cold and rainy Sunday evening in January.
When I got to Sonia's place, she had already pre-washed the pinto beans and they were boiling in a big pot of water.  The beans take about 1-2 hrs to cook.
We'll come back to the beans later.


Within minutes of my arrival, Sonia served me a glass of wine (what a good sis!) and we were ready to get started with the main dish!


Ingredients for main dish include:
3 guajillo chiles
2 tomatoes 
1 garlic clove
1/4 onion
2lbs. of beef flat meat (like the kind used for carne asada but without seasoning)
Mazola oil


First, we let the chiles marinate in water until the water turned red (20 minutes or so).  Sonia used a ziplock bag of water and placed the chiles inside.


We cooked the tomatoes in a pot of water.


Meanwhile, Sonia chopped the meat into strips.


We added little bit of water to a pan and cooked the meat through before we added about 2 tablespoons of Mazola oil.


I blended the chiles, tomatoes, garlic, and added some black pepper.


Drain the meat before you add the sauce!!!  (The exclamation points indicate that we forgot this step...oops!) 


Continue to simmer for 15-20 minutes, or until the sauce has thickened, while adding salt to taste.  
We tasted the meat at all stages.  We were worried that it was too bland at first.  But after simmering longer, we realized the taste of the chile sauce gets stronger as it thickens. So be patient...


Don't forget to refill your glass of wine (or other libation of choice) while you wait! :)


Now, back to the beans....
Once the beans were soft (cooked), we poured them into a pan with a large spoon.  Make sure you get some of that juice in there too.  Bring to a boil before adding about 3/4 cups of Mazola oil (you can add more or less).
Note: Traditionally, refried beans are made with lard.  We opted for the "healthier" version.


Now mash the beans!!  Add salt to taste.
Your complete meal is now ready to serve!!

PS: I like using a bean masher  that allows me to  mash them until they're almost watery. Most regular potato mashers will leave little chunks, which is fine. However, my grandmother's beans were runny...and that's how I like mine. :-)



Warm up some tortillas.  We had some hand-made flour tortillas from Trader Joe's that were delicious! 
We also added cotjia cheese to the beans. Yum!
Our guinea pigs approved!


Every morsel was devoured.  Que rico!


If you're in search of a great bean masher , this is one I personally like. Enjoy!!